Hi there
Just sharing a couple of layouts I have made using the latest Artfull Crafts Sketch Kit - Buddy. These kits are fantastic value - I especially loved the teal colourings of the kit but how could you not just love the cogs, pearl strips, alpha stickers and word stickers which are included in the kit!
First up I have completed this layout of Natasja and her Dad.
Looking closer you can see that I have cut out some of the pattern from the Authentique - Loyal Paper - Brave to make these flowers and used some seam binding for the edges:
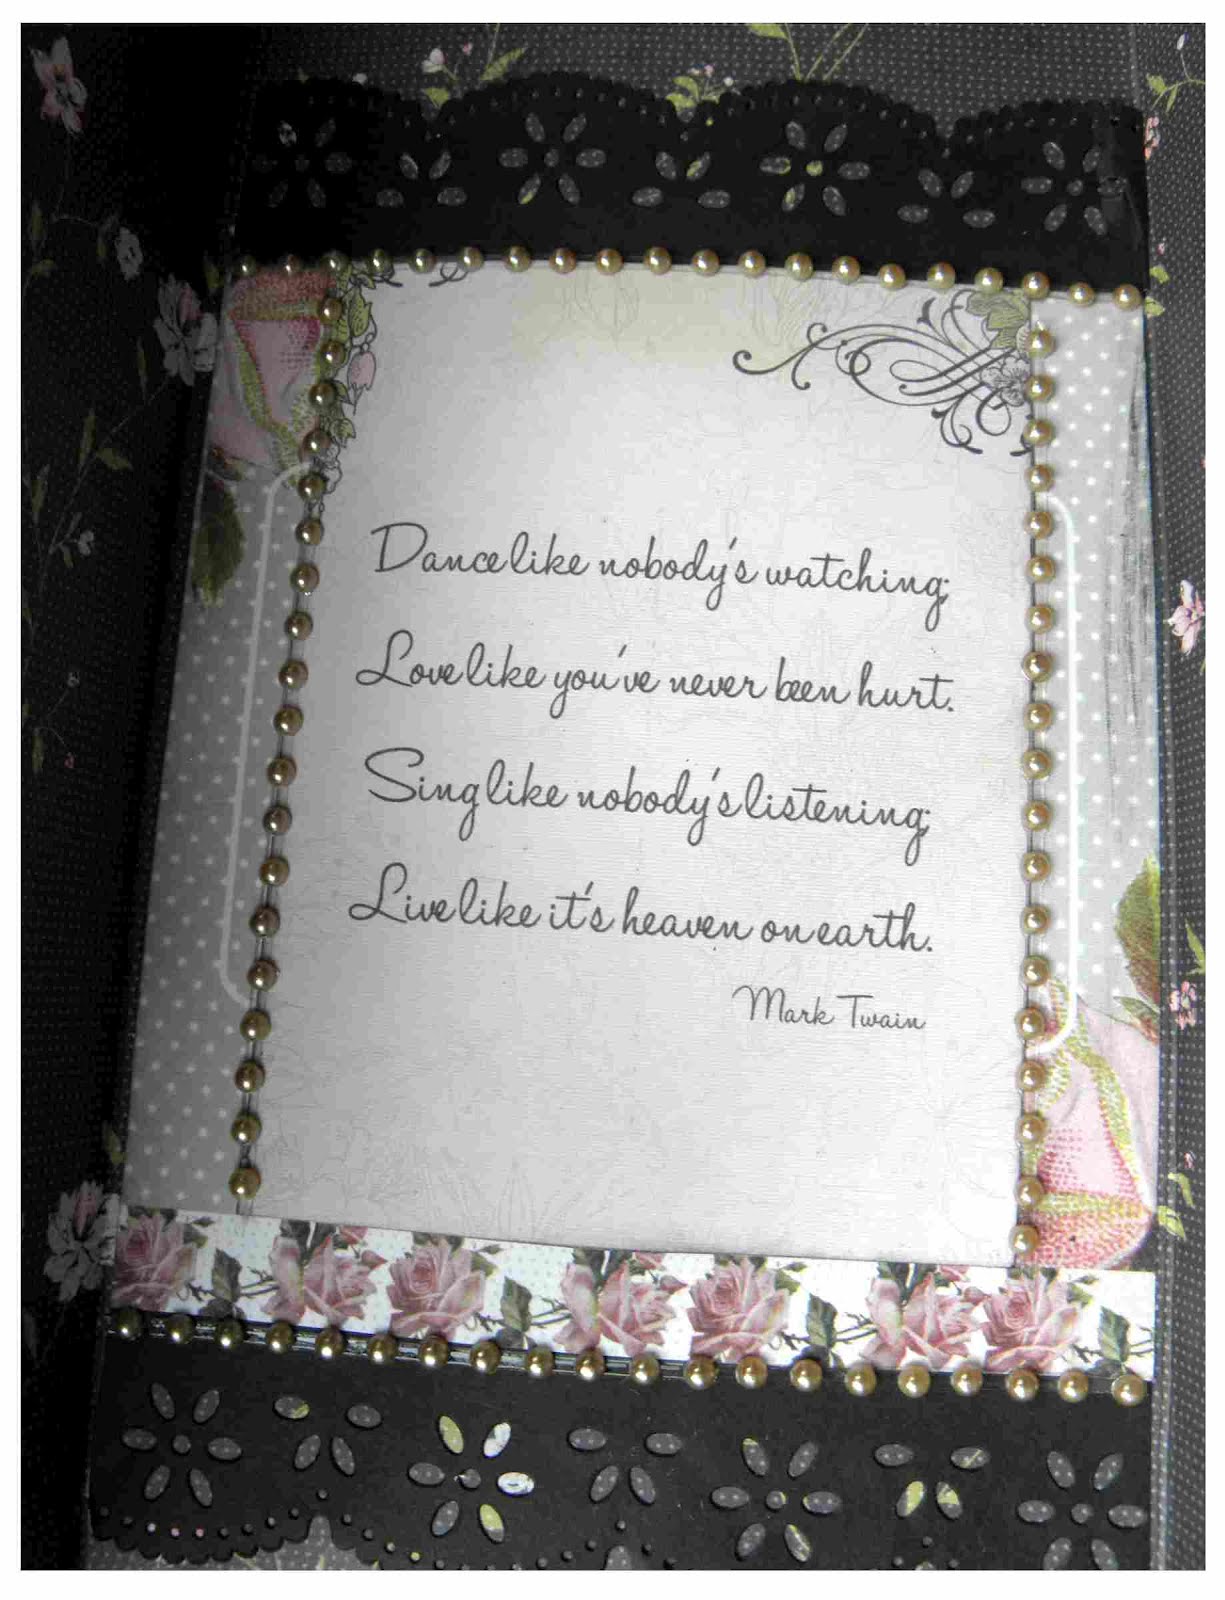
I love to hide my journalling so in this layout I have used the chain and coiled paper clips which are included in the kit to make the journalling space behind the chipboard square.
Now I know the journalling tag is blank at the moment but that is because I am leaving this journalling up to my husband to do. He reads the journalling I have done on some layouts and has said he wanted to write something so this is his chance!
To get you started on this layout I have created the following sketch:
With the rest of the kit I completed another layout using those cute little cogs.
Another of my favourite things in the kit were the gorgeous self adhesive alphas and words which I have used to create the journalling.
I added some chipboard alphas from my stash for the title.
To help you out here is a sketch of this layout:
So that is what I did with the kit. I would love to see what you create with this kit! Be sure to post it on the Artfull Crafts Facebook Page.
Don't forget to head to the store to purchase yours now. Strictly limited stocks.
:)
Vicki
Sunday, September 23, 2012
Sunday, September 16, 2012
I MADE THE KIDDIES CRY BECAUSE OF THIS...
It breaks your heart to see one of your children cry - so I hope you can imagine my pain when it was because of me they were crying!
I had just shown them this project I have just finished for ARTFULL CRAFTS using Kaisercrafts Twelve Frame Photo Display mixed with Primas Romance Novel collection.
I just love flowers so it was no suprise that I went a bit mad with embellishments on this one.
My inspiration for the frame came from a little saying that was in Prima's Romance novel papers which said "10 things I will never forget" so with that in mind Hubby and I came up with "10 things we will never forget" about our children.
I used the numbers on Primas Romance Novel Paper-Dear John as my list and we started writing - here is the full list:
10 things we will never forget
1. We will never forget the days that each of our children were born and how on each of those days our lives changed completely & forever.
2. We will never forget that you will never know how much we love you until you have children of your own to love.
3. We will never forget your favourite blankies as you needed these to comfort you and you loved them so much they all wore out.
4. We will never forget how we say “i love you to the moon and back infinity times infinity, infinity times”
5. We will never forget the times that each of you have cried and you have needed a cuddle from mummy and daddy to make it all better.
6. We will never forget the pitter patter of little feet into our bedroom at night and the cuddles we have until the morning light.
7. We will never forget your favourite toys that became part of our family just because of you.
8. We will never forget the times when you have been sick and even though we were doing everything we could we felt helpless to help you.
9. We will never forget your smiles and laughter as those are the days that it felt like the sun was shining – even though there could have been a storm outside.
10. We will never forget that you are our children and whatever you do we will always be there for you – we will never forget as you three are the reason for our lives.
So that was that - tears all around the place followed by the biggest hugs :)
And before I forget - here is a photo of the finished creation :)
:)
Vicki
Tuesday, September 11, 2012
ARTFULL CRAFTS KIT CHALLENGE
Ever wondered what you would do with a kit - well here are some creations I have made using this fabulous kit that Liz at ARTFULL CRAFTS has put together. You can purchase this Artfull Sketch kit for only $25! There's at least that amount in product, plus colour photos of the layouts that you can create and the sketches to help you along the way! (No full instructions or titles with sketch kits).
So first up I completed this layout with the kit. I especially loved the chipboard accents from Echo Park.
Everything I used for this layout was in the kit with the exception of the chipboard alphas which I used for my son's name. Did you spot the little coiled paper clips - they are just so cute - and guess what - you get them in the kit!
Another favourite of mine in the kit is the little envelopes which hide my journalling - perfect for sharing those private little memories. So if you didn't spot it - here is where I have hidden the journalling.
To get you started here is a sketch I have made to go with this layout.
There was a lot left over in the kit so I have used it for this layout as well. I added in some more flowers and trinkets from my stash.
I just love the neutral colours of this kit and the chipboard accent title was just perfect for this layout.
Again the little envelopes in the kit came in handy to hide my journalling:
Here is the sketch I have made up based on this layout.
I am not a cardmaker but with the little bits left over from the kit and some flowers and material from my stash I made this little card.
With the creation of two layouts and a card it is easy to see that these kits are packed with yummy goodness and such great value - so head on over to the ARTFULL CRAFTS SHOP and check them out - you won't regret it!
:) Vicki
Saturday, September 8, 2012
Tuesday, September 4, 2012
A little sneeky peek....
Just thought I would show you a sneek peek of what I have been up to working on some fab kits from ARTFULL CRAFTS..... more will be revealed soon but till then.....
:)
Vicki
:)
Vicki
Monday, August 20, 2012
THE SECRET IS OUT.......
The new design team has just been announced at Artfull Crafts......and drumroll please........included in the team are the fabulous:
LOWRI MCNABB
http://papervinenz.com/
TERESA ABAJO
http://www.thetamarisk.blogspot.com/
ROBBI BELL
scrapsfrommyeverydaylife.blogspot.com
TRACY JACKSON
www.stampingseasons.blogspot.com
NICHOLE PARKER
http://iratherbecrafting.blogspot.co.nz/
JO JOHNSON
http://imagineifnz.blogspot.co.nz
MISS BESTY
http://bestofbetsys.blogspot.com
SANDY ANG
http://angsandy.blogspot.com/
CHRISTINE BONIFACIO
http://christinebcreates.blogspot.co.nz/
and guess what....
VICKI MORRIS
www.bixies.blogspot.com - that's little old ME!!! (possible less of the little and more of the old!)
I am looking forward to working with these talented ladies this year so I would love you to get following the Artfull Crafts blog (http://artfullcrafts.blogspot.co.nz)and keep up with our creations
:)
Vicki
A LITTLE BIT OF PRIMA FOR AUGUST
I thought I would give the Prima sketch a go this month as I have never entered before. I am not the greatest at using sketches as I try to get everything exactly like the sketch which is very frustrating but once I laid this out and kept adding flowers :) (can you tell I love flowers!) it seemed to all come together. It is busy but the photo still pops for me and I have managed to get some journalling done hidden behind the photo - just how I like it!
So here is the sketch:
I managed to do some journalling and keep it private:
and it wouldn't be a layout of mine is I didn't include a flourish of flowers :)
So here is my attempt:
Still time to get creating and join in the Prima BAP for August - check it out here:
http://prima.typepad.com/prima/2012/08/august-build-a-page.html
:)
Vicki
Friday, June 29, 2012
AND HERE IT IS.....
and here it is......my last BTP projects for Kaisercraft. It has been a fab 2 years of working with some amazing products - and one of my favourites would have to be one of my last projects - the butterfly wall art using The Lakehouse collection:
After two years of attempting to make cards - this is my last one using The Lakehouse collection
Not to forget the Check In collection - here is my last beyond the page item using this collection with a bit of the Timeless collection thrown in:
Thanks so much for popping by for a visit on my blog and for leaving some comments - they really do mean a lot - I have packed my scrapping away but hopefully I will get back into it once I finish off some other work I have lying around here!!
:)
Vicki
Tuesday, June 26, 2012
WAVING GOODBYE TO YOU!
This week is my last week on the design team for Kaisercraft so here are my last layouts. It has been a fun 2 years on the team - considering when I first got on the team I had never done a beyond the page project or card! I have had fun playing but I think it is time to perhaps to clean up the mess I have been making over the last 2 years and think about getting a real job!!!
So here are my last layouts:
Firstly using the Check In collection


and here is my layout using The Lakehouse Collection


I will post my beyond the page projects once they are up on the Kaisercraft Blog later in the week - till then
Happy Scrapping
:)
Vicki
So here are my last layouts:
Firstly using the Check In collection

and here is my layout using The Lakehouse Collection

I will post my beyond the page projects once they are up on the Kaisercraft Blog later in the week - till then
Happy Scrapping
:)
Vicki
Tuesday, June 5, 2012
LOOK WHAT I HAVE BEEN UP TO!!
I can finally show you what I have been up to as everything has been posted or printed on the Kaisercraft blog or newsletter.
So first up my fav projects using the May collections from Kaisercraft. First up we had a little "Magnolia Grove" - I just loved the neutral tones of this collection.


Followed by a little bit of "Rock Pool"


Also this month I was on Kaisercraft Newsletter duty so if you want to be IN THE KNOW you can check it out here
But here was my little tutorial on how to make a dimensional compass .
1. Roll out some modeling clay to required thickness..

2. Use a variety of inks and colour the clay as shown.

3. Select the Compass stamp from the Check In range and use black ink to make an impression into the modeling clay.

4. Use a heat gun to quickly dry the ink.
5. Use a craft knife to cut around the clay and then mould the edges with your fingers to get required shape.
6. Use Metallic Rubons to add golden highlights to your compass.

7. Once dry use glossy accents to cover the top of the compass and let dry.

8. Add your dimensional compass to your next project.

“Bon Voyage” card
Materials List: Kaisercraft – Check In – Paper Pad, Kaisercraft – Check In – Borders Sticker Sheet, Kaisercraft – Check In – Delayed, Kaisercraft – Check In – Destination, Kaisercraft – Check In - Clear Stamps, Ink, String, Modelling Clay, Metallic Rubons.
Subscribe to:
Posts (Atom)