

http://artfullcrafts.blogspot.co.nz/2013/08/new-design-team-announcement.html
I was lucky enough to be on the team last year and it was brilliant - here are a couple of my favourite projects from the year:
I think my favourite would have to be my little angel I created. It was fun making this and I had fun experimenting dipping a polystyrene ball with the Easycast Resin for the head. The result turned out quite porcelain like and looked very cool with the addition of some fine wool for the hair.

I have also had fun with some other off the page projects- like this altered jewellery box.


and this frame


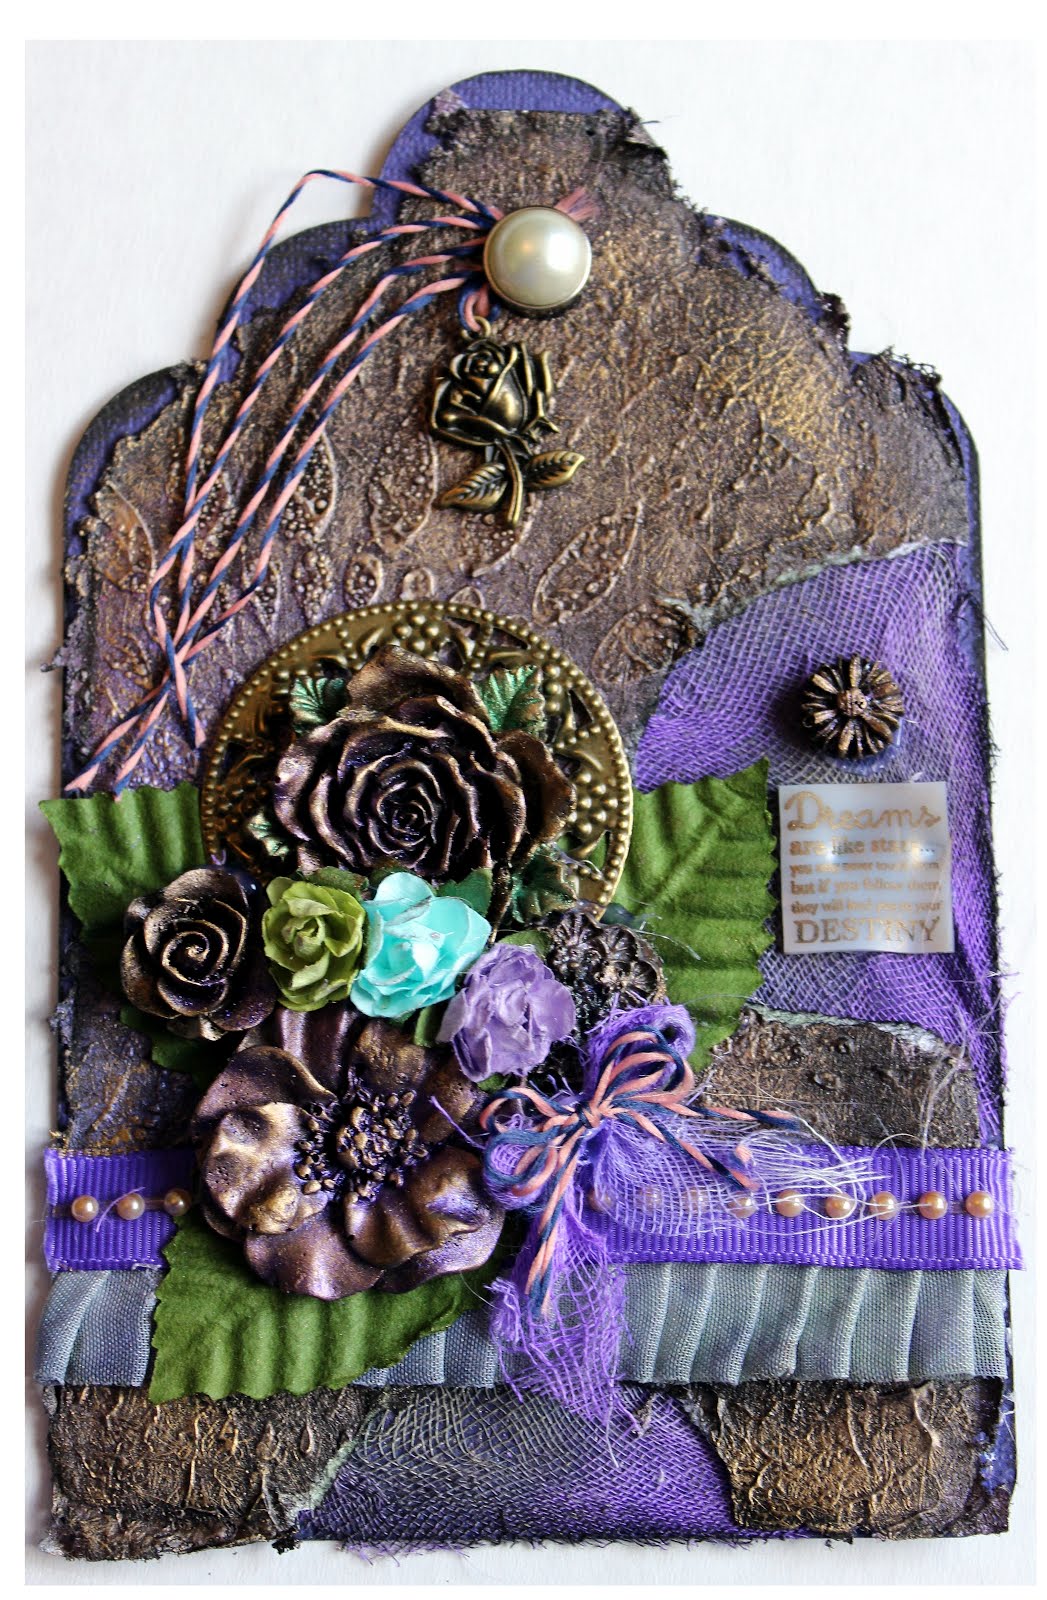
I love this one purely as this is one of my favourite colour combos!

Layouts are always special when it captures one of your child's very first photos

and the layouts are made even more special if they contain memories like the baby's wristband

and journaling with their footprint included.

Possibly this is my favourite layout as it captures this kids and I altogether. As I am usually holding the camera - this is a very rare moment!

Make sure you head on over to Artfull Crafts and check out the new design team - and win prizes will you do!
And to make sure you don't miss anything - make sure you follow Artfull Crafts Ltd on Facebook and you will never miss a thing!
Happy Scrapping
:)
Vicki


